
搭建环境并创建第一个vscode插件
参考链接
https://code.visualstudio.com/api/get-started/your-first-extension
环境推荐
推荐在Linux上完成插件的开发,此处我使用windows上的remote ssh vscode插件,远程连接Linux主机进行开发。
- node.js
- npm
安装环境
apt自带的Node和npm库可能比较老,要进行插件开发,起码需要node 16+的版本,所以选择官网上的方式进行安装。
- Node.js官网:https://nodejs.org/zh-cn/download
```bash
下载并安装 nvm:
curl -o- https://raw.githubusercontent.com/nvm-sh/nvm/v0.40.3/install.sh | bash
代替重启 shell
. “$HOME/.nvm/nvm.sh”
下载并安装 Node.js:
nvm install 24
验证 Node.js 版本:
node -v # Should print “v24.13.0”.
验证 npm 版本:
npm -v # Should print “11.6.2”.
注意,这部分可能只会在.bashrc中增加环境变量,如果用的是zsh,需要在.zshrc中手动添加
```zsh
export NVM_DIR="$HOME/.nvm"
[ -s "$NVM_DIR/nvm.sh" ] && \. "$NVM_DIR/nvm.sh"  # This loads nvm
[ -s "$NVM_DIR/bash_completion" ] && \. "$NVM_DIR/bash_completion"  # This loads nvm bash_completion
同样的变量也需要添加到.zshenv,运行下面的命令
cat >> ~/.zshenv << 'EOF'
# nvm
export NVM_DIR="$HOME/.nvm"
[ -s "$NVM_DIR/nvm.sh" ] && \. "$NVM_DIR/nvm.sh"
EOF
- 安装插件脚手架
npm install -g yo generator-code
创建插件骨架
找个目录,执行:
yo code
会进入交互式选择
① 选择插件类型
? What type of extension do you want to create?
❯ New Extension (TypeScript)
选 TypeScript
② 插件名字
? What's the name of your extension?
device-tree-visualizer
(名字随便,后面还能改)
③ 插件标识符(publisher)
? What's the identifier of your extension?
device-tree-visualizer
④ 描述
Visualize merged Device Tree nodes and final properties
⑤ 是否初始化 Git
? Initialize a git repository? Yes
必须 Yes,后面调试、发布都舒服。
⑥ 打包工具
? Bundle the extension with webpack? No
初期别用 webpack,等功能复杂了再上。
生成后的目录结构
生成完成后,你会看到:
device-tree-visualizer/
├─ .vscode/
│  └─ launch.json        # 调试配置
├─ src/
│  └─ extension.ts       # 插件入口(最重要)
├─ package.json          # 插件配置 & 命令声明
├─ tsconfig.json
├─ README.md
└─ CHANGELOG.md
extension.ts内容:
// The module 'vscode' contains the VS Code extensibility API
// Import the module and reference it with the alias vscode in your code below
import * as vscode from 'vscode';

// This method is called when your extension is activated
// Your extension is activated the very first time the command is executed
export function activate(context: vscode.ExtensionContext) {

	// Use the console to output diagnostic information (console.log) and errors (console.error)
	// This line of code will only be executed once when your extension is activated
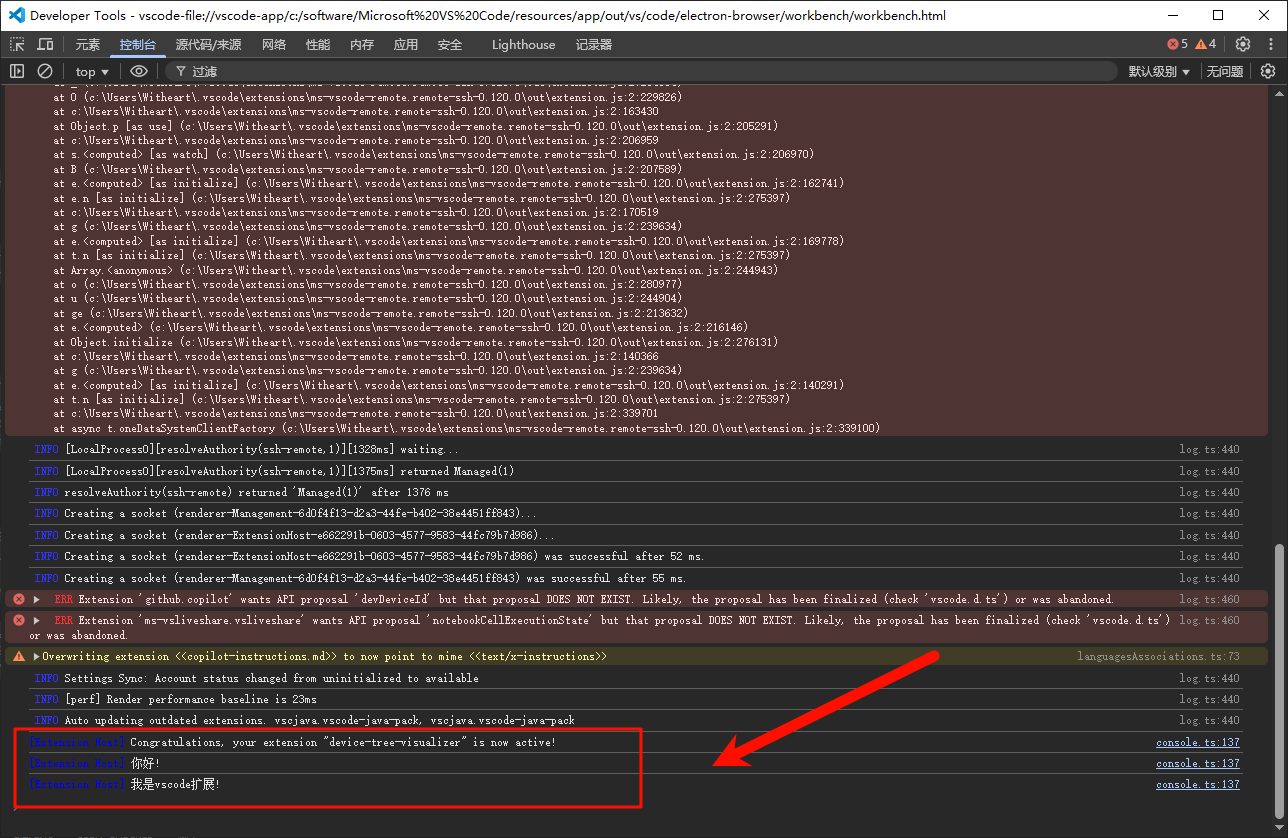
	console.log('Congratulations, your extension "device-tree-visualizer" is now active!');
	console.log('你好!');
	console.log('我是vscode扩展!');

	// The command has been defined in the package.json file
	// Now provide the implementation of the command with registerCommand
	// The commandId parameter must match the command field in package.json
	const disposable = vscode.commands.registerCommand('device-tree-visualizer.helloWorld', () => {
		// The code you place here will be executed every time your command is executed
		// Display a message box to the user
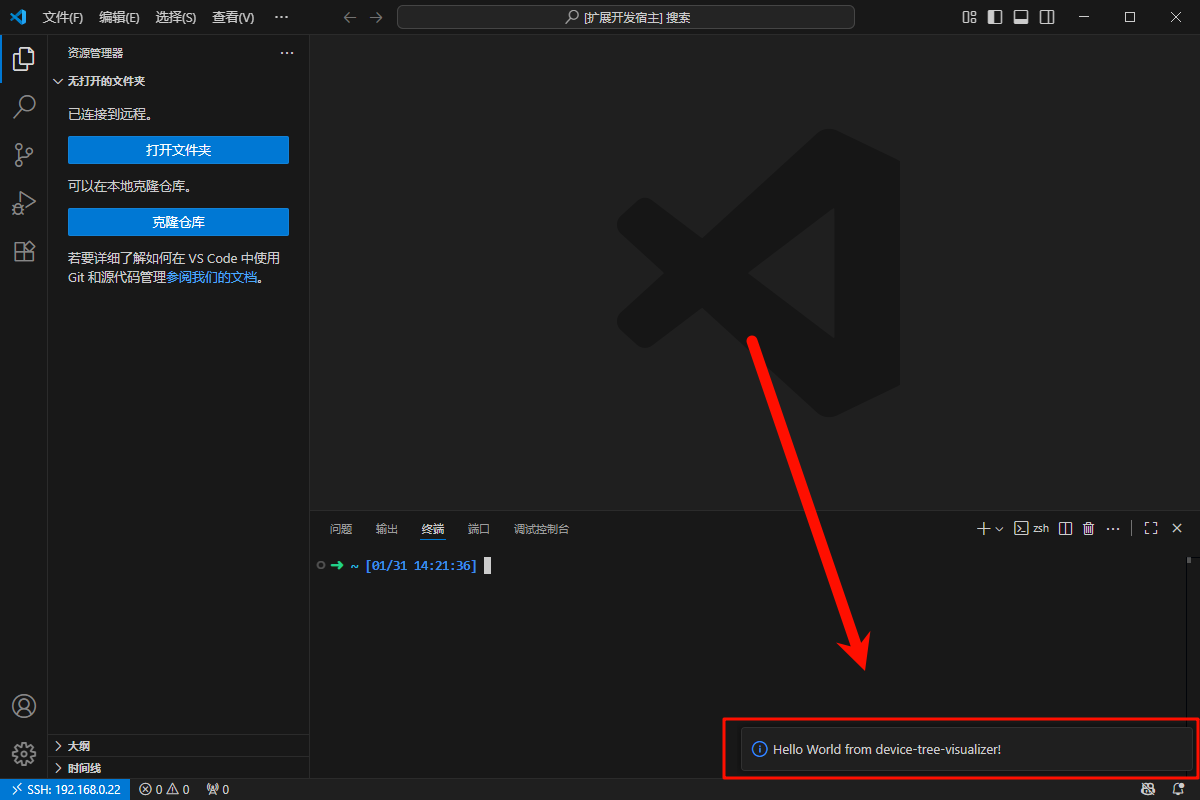
		vscode.window.showInformationMessage('Hello World from device-tree-visualizer!');
	});

	context.subscriptions.push(disposable);
}

// This method is called when your extension is deactivated
export function deactivate() {}
package.json内容
{
  "name": "device-tree-visualizer",
  "displayName": "device-tree-visualizer",
  "description": "Visualize merged Device Tree nodes and final properties",
  "version": "0.0.1",
  "engines": {
    "vscode": "^1.103.2"
  },
  "categories": [
    "Other"
  ],
  "activationEvents": [],
  "main": "./out/extension.js",
  "contributes": {
    "commands": [
      {
        "command": "device-tree-visualizer.helloWorld",
        "title": "Hello World"
      }
    ]
  },
  "scripts": {
    "vscode:prepublish": "npm run compile",
    "compile": "tsc -p ./",
    "watch": "tsc -watch -p ./",
    "pretest": "npm run compile && npm run lint",
    "lint": "eslint src",
    "test": "vscode-test"
  },
  "devDependencies": {
    "@types/vscode": "^1.108.1",
    "@types/mocha": "^10.0.10",
    "@types/node": "22.x",
    "typescript-eslint": "^8.52.0",
    "eslint": "^9.39.2",
    "typescript": "^5.9.3",
    "@vscode/test-cli": "^0.0.12",
    "@vscode/test-electron": "^2.5.2"
  }
}
运行 & 调试插件
vscode进入插件目录下:
然后:
- 按 F5
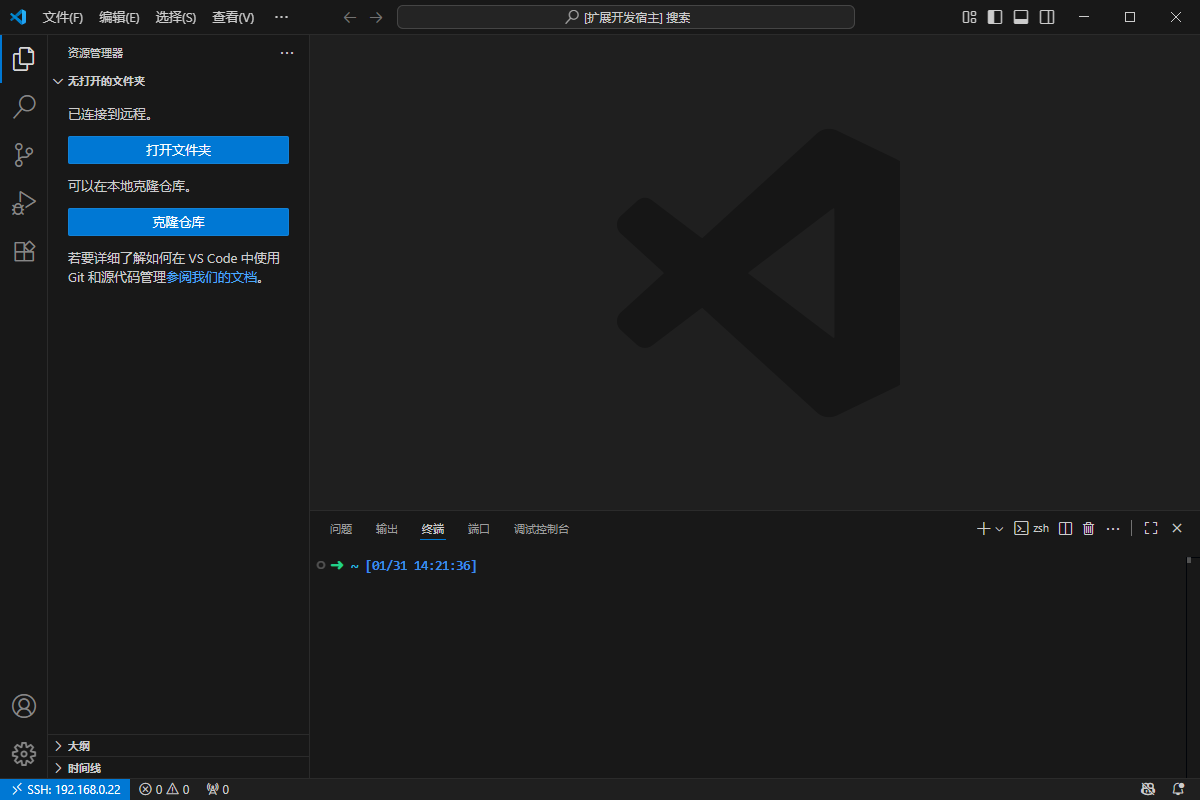
- 会打开一个新的 VS Code 窗口(Extension Development Host)
- 插件已经在里面“装好”了,可以先把其他插件关掉
- Ctrl+Shift+P
- 输入’> Hello World’运行命令
-
右下角会弹出对应的信息
- 帮助 → 切换开发人员工具 → Console
看到输出:

留下评论